
showfyzo Mon-Fri 9:00-17:3001962 849 316
Behind the Scenes of a Compact Interview Studio Setup
Guides Interview Studio

Behind the Scenes of a Compact Interview Studio Setup

How a small interview or portrait set is actually lit and framed, from the first walk-through to the final check on the monitor, told from the lighting desk.

Priya Nair 6 min read

Starting with the room, not the kit

When we are asked to set up an interview or portrait segment, the first thing I do is walk the room with nothing in my hands. I look at the ceiling height, the windows, the colour of the walls, the floor surface and where the power comes from. A small studio, a rented meeting room and a corner of an office all behave differently under light, and the plan depends on which one we are in.

I also ask where the guest will enter, how long they will sit and whether the producer wants a formal or a relaxed feel. Those answers matter more than any equipment list. A guest who walks across the set in view needs a different layout from one who is already seated when the camera rolls.

By the end of that walk-through I usually have a sketch on paper: guest position, camera position, the direction of the main light and the places where cables must not run.

  • Measure ceiling height before choosing stands
  • Note every window and how the daylight will move
  • Mark power sockets and cable routes on the sketch

Placing the camera and the guest

Daniel Frost usually settles camera placement with me before any light goes up. The distance between guest and lens, and the lens itself, decide how much of the background is visible and how flattering the framing is. A longer lens from further back tends to be kinder to faces and keeps the set looking uncluttered.

We seat the guest at a slight angle to the camera rather than square on, with the interviewer just beside the lens so the eyeline stays natural. If there are two cameras, the second takes a different size of shot, so the edit has something to cut to that genuinely changes the picture.

Chairs matter more than people expect. A chair that swivels or sinks will move the guest in and out of the lit area, so we choose a firm, fixed one and test it with a real person, not an empty seat.

Building the light in layers

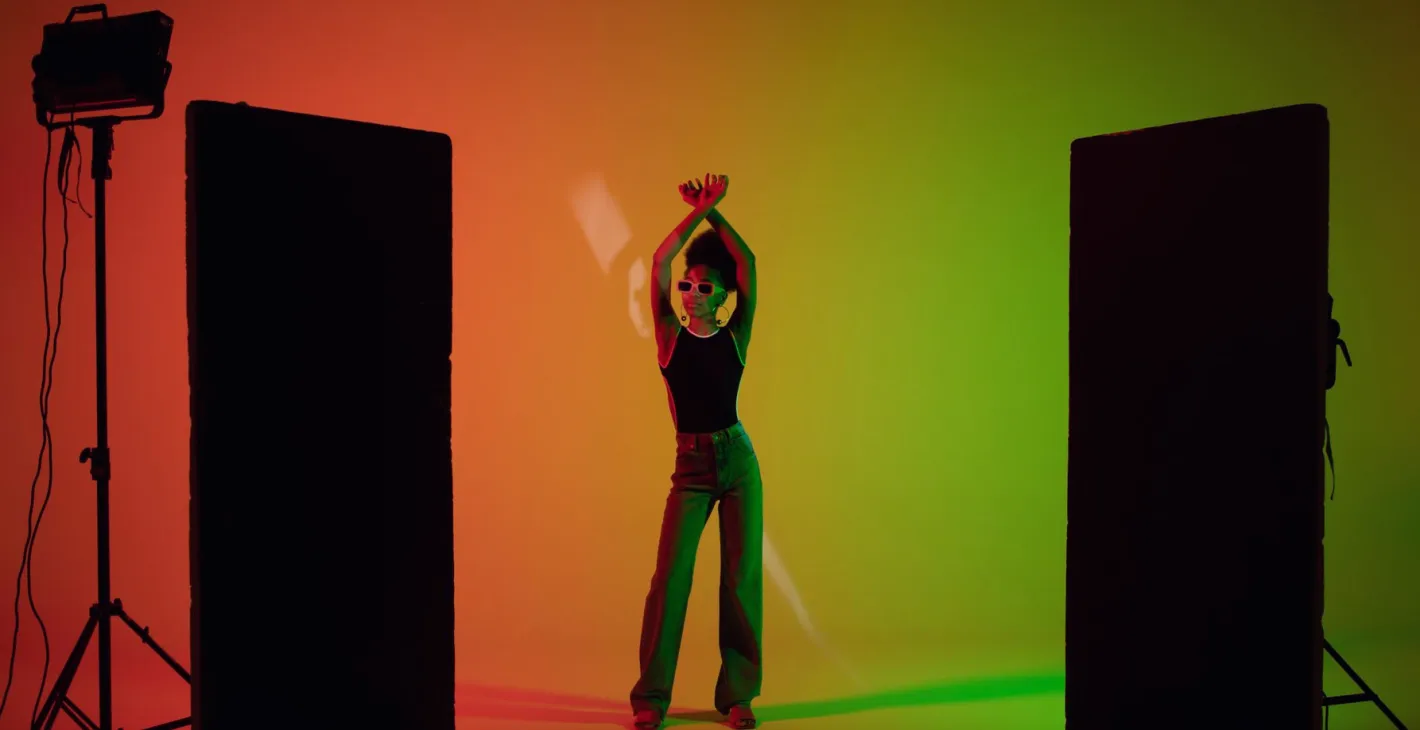
I build the light one source at a time and look at the monitor after each. The key light goes in first, usually a large soft source placed to one side and slightly above eye level. Softness is what makes skin look natural on camera, so the bigger and closer the source, the better, as long as it stays out of frame.

Next comes fill, kept gentle, so the shadow side of the face has shape without going black. Then a back light or hair light to lift the guest away from the background. Last of all I light the background itself, deliberately darker or lighter than the face depending on the mood the producer wants.

Adding sources in this order means that when something looks wrong, I know exactly which light caused it and can fix it without disturbing the rest.

  • Key: large, soft, to one side
  • Fill: gentle, only to hold the shadow detail
  • Back light: a modest edge, never a glare

Dealing with glasses, skin and clothing

Most of the awkward moments happen with the guest, not the equipment. Glasses pick up reflections from the key light, which we cure by raising the light a little higher or moving it further to the side until the glare slips off the lens. It is a few centimetres of adjustment, but it saves a retake.

Shiny skin under warm lights is another common issue. We ask guests to bring a matt face with a light dusting of powder if they are comfortable with it, and we keep a small supply on hand. Clothing is worth a quick message beforehand: very fine stripes and bright white can flicker or clip on camera, so plain mid-tones are safer.

None of this is fussy for its own sake. It simply means the picture is right when recording begins, and the guest can concentrate on the conversation.

Sound sits alongside the picture

Even on a light-focused day, I keep Tom Ellery's needs in mind. A microphone that is visible, or a stand that blocks the key light, creates a problem that costs time to untangle. We agree the microphone position at the sketch stage so the light and the audio plan share the same space.

Lights themselves can hum or tick, and some cheaper fittings add noise that the microphone picks up in a quiet room. We listen before we record, and if a fitting is noisy we move it or swap it.

The room also affects sound. Hard bare walls make a voice echo, so a few soft furnishings or a heavy curtain behind the camera can improve the audio as much as any microphone choice.

The final check before the guest sits down

Before anyone is seated, I sit in the chair myself under the lights and look at the monitor. A stand-in is not a replacement for the real guest, but it shows whether the exposure is steady, whether the background is clean and whether any cable or stand has strayed into the frame.

Then the guest arrives, and I make small adjustments: a tilt of the key light, a nudge of the chair. We run a minute of conversation and watch the picture hold. If the shot is comfortable for the guest and clear for the viewer, we are ready to record.

Packing down is part of the craft too. We label cables, coil them the same way every time and leave the room as we found it, which makes the next set-up quicker for everyone.

A good interview set looks effortless because most of the decisions were made before the guest arrived. Walk the room, place the camera and chair first, build the light in layers and check the monitor with a real person in the seat. Keep sound in view from the start, and give yourself time at the end to make small corrections. In these darker autumn weeks, when daylight is short and rooms feel dim, a controlled and simple setup is often the most dependable choice.